/*

PROGRAMME BASIQUE POUR LIRE UN CAPTEUR DE TEMPÉRATURE DS18B20
AVEC LE PROTOCOLE OneWire (= Dallas)

RÉFÉRENCE AliExpress DU CAPTEUR
http://fr.aliexpress.com/item/Stainless-steel-package-Waterproof-DS18b20-temperature-probe-temperature-sensor-18B20-For-Arduino/32236998050.html

VERSION ORIGINALE DU PROGRAMME
http://www.milesburton.com/?title=Dallas_Temperature_Control_Library

LIBRAIRIE OneWire
https://github.com/PaulStoffregen/OneWire.git

LIBRAIRIE DallasTemperature
https://github.com/milesburton/Arduino-Temperature-Control-Library

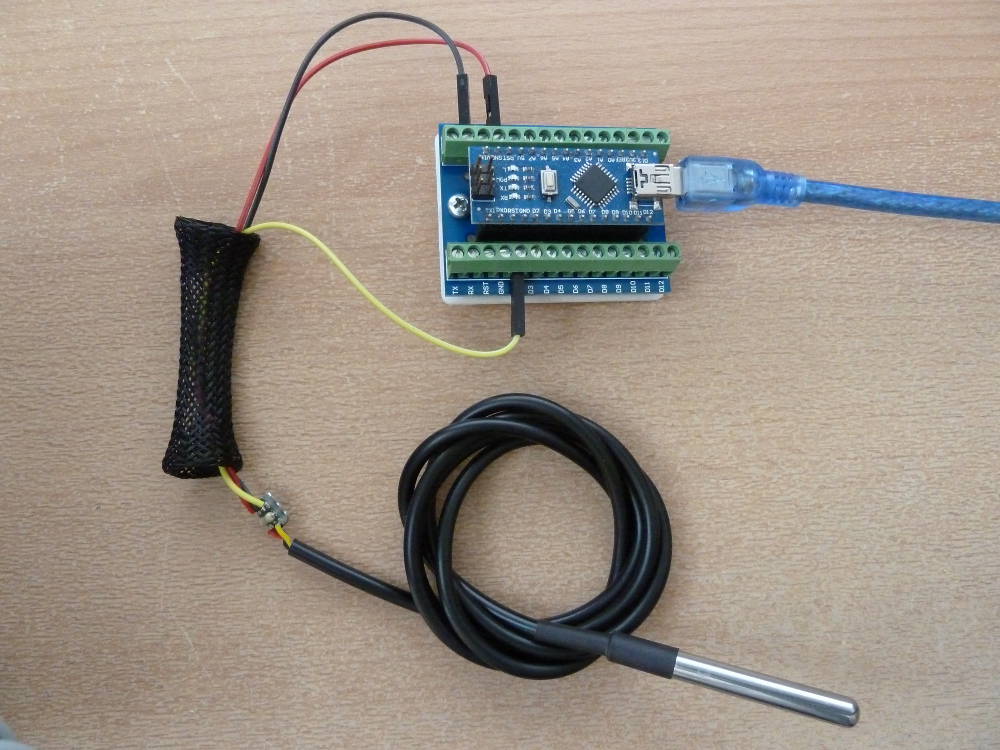
CONNEXIONS
fil rouge    +5V
fil noir     GND
fil jaune    données OneWire PORTD2 (pin 2)
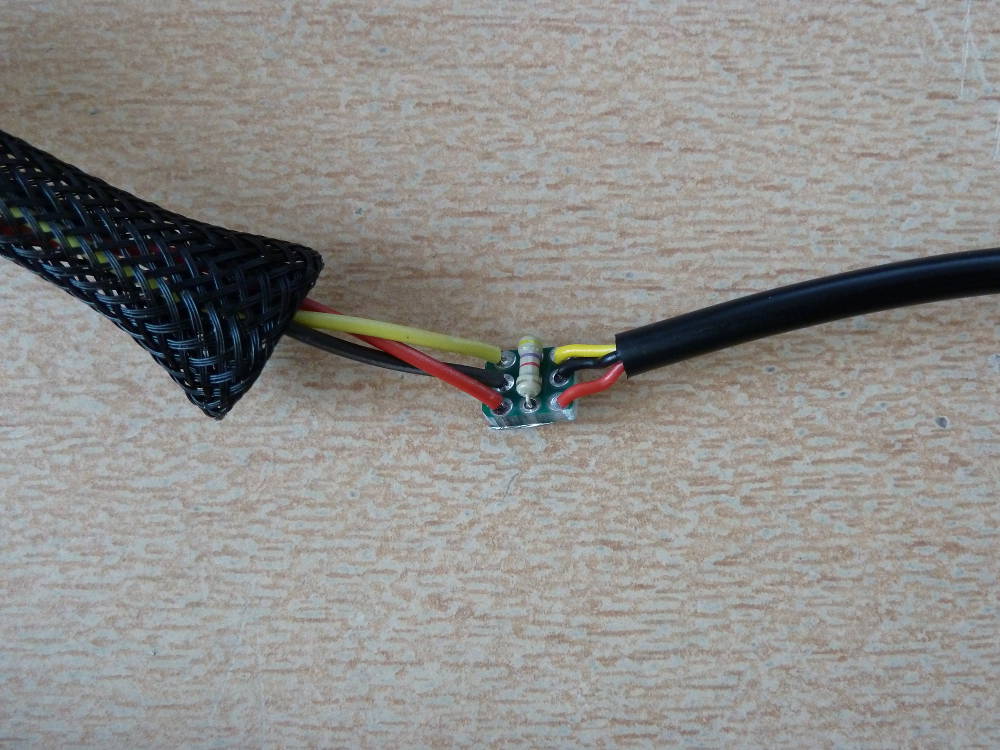
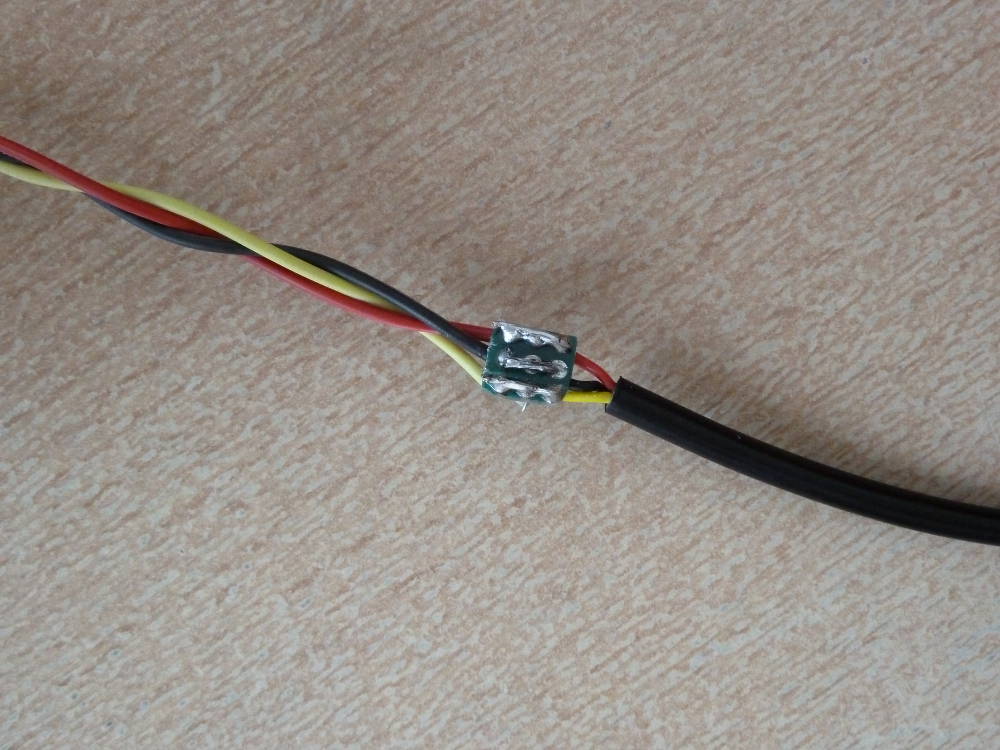
Résistance pull-up de 4.7 kΩ entre le signal (fil jaune) et +5V (fil rouge)

MICROCONTRÔLEUR
Clone Arduino Nano

REMARQUES
- Le protocole OneWire est lent, il faut environ 780 ms pour une lecture.
- Le capteur DS18B20 n’est pas très réactif, il faut environ 5 min
  pour qu’il se stabilise.

mai 2016, ouilogique.com

*/

#include <OneWire.h>
#include <DallasTemperature.h>

// Le fil des données est connectés à la broche 2
#define ONE_WIRE_BUS 2

// Initialisation d’une instance pour communiquer avec le protocole OneWire
OneWire oneWire( ONE_WIRE_BUS );

// Initialise DallasTemperature avec la référence à OneWire.
DallasTemperature sensors( &oneWire );

void setup()
{
  Serial.begin( 115200 );
  Serial.print( "Demo capteur de temperature DS18B20\n" );

  // Démarre le processus de lecture.
  // IC Default 9 bit. If you have troubles consider upping it 12.
  // Ups the delay giving the IC more time to process the temperature
  // measurement
  sensors.begin();
}

void loop()
{
  long t1 = millis();

  // Requête de toutes les températures disponibles sur le bus
  sensors.requestTemperatures();
  // On ne garde que la première température (index = 0)
  float Temp = sensors.getTempCByIndex( 0 );

  long t2 = millis();
  long dt = t2 - t1;

  Serial.print( "t = " );
  Serial.print( t2 );
  Serial.print( " ms\t" );

  Serial.print( "dt = " );
  Serial.print( dt );
  Serial.print( " ms\t" );

  Serial.print( "T = " );
  Serial.print( Temp, 1 );
  Serial.print( " degC\n" );
}


